[3.0] Web ページの公開
ここでは,Web ページを実際に作成します. Web ページの公開に際し以下のことに注意してください.
- 他人の著作物や写真などを使用する場合には注意してください.
- Web ページは不特定多数の人に見られることが前提となる資源です. 公序良俗に反するようなこと(例えば卑猥な内容, 誹謗中傷など)を書かないようにしてください.
[3.1] ファイルの置き方
前のページでは,HTML を書くための最低限の解説をしました. しかし,それだけではウェブブラウザからその HTML ファイルを公開・閲覧することはできません. 適切な場所に置くことでWeb ページを公開・閲覧することが可能となります.
[3.1.1] public_html ディレクトリ
Web サーバ構築のためのソフトウェア「Apache2」の設定ファイルの一つである「userdir.conf」を見てみましょう.
$ less /etc/apache2/mods-available/userdir.conf

UserDir public_html
UserDir disabled root

<Directory /home/*/public_html>
        AllowOverride FileInfo AuthConfig Limit Indexes
        Options MultiViews Indexes SymLinksIfOwnerMatch IncludesNoExec
        Require method GET POST OPTIONS
</Directory>
ここに, 「UserDir public_html」と記述されています. この行は,public_html ディレクトリ以下に置いた HTML ファイルは 公開します,ということを意味します. つまり public_html が公開用ディレクトリです. この設定ファイル中の userdir モジュールを有効にするため には以下のコマンドを実行します.
# a2enmod userdir
Enabling module userdir.
To activate the new configuration, you need to run:
  service apache2 restart
もし,このモジュールを無効にしたい場合は,
# a2dismod userdir
を実行します(これ以降の作業を行う際にはモジュールを有効にしてください). 最後に, 設定を Apache2 に反映させるために Apache2 を再起動します.
# systemctl restart apache2.service
モジュールを有効にしたら次は実際に public_html を作成して ページを公開してみましょう. まず皆さんのホームディレクトリに public_html を作成します.
$ cd ~
$ mkdir public_html
$ ls -l

drwxr-xr-x  7 hoge hoge      4096  6月 25 16:40 public_html
ホームディレクトリ,public_html のパーミッションを変更します.
$ chmod 755 ~hoge
$ chmod 755 public_html
これで公開用ディレクトリの準備は完了です.このディレクトリの中に 公開したいファイルを置き,Web ブラウザのアドレスバーに適切な URL を入力することで, そのファイルにアクセスします.例えば,sample.html を public_html 以下に置き, それを Web ブラウザからアクセスする場合を考えます. public_html ディレクトリ以下に「sample.html」を作成し,中身を編集します.
$ cd ~/public_html
$ vi sample.html
以下のように入力します.
<!DOCTYPE html>

<html lang="ja">
 <head>
  <meta charset="UTF-8">
  <title> sample </title>
 </head>

 <body>
  <h1>
    This is sample page!!
  </h1>
 </body>
</html>
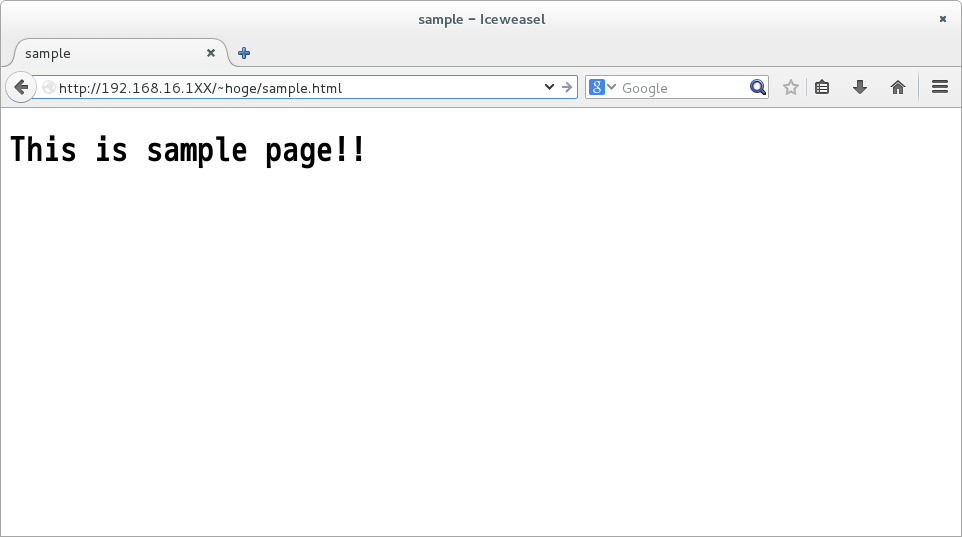
ファイルの作成が終了したら,ブラウザ上からアクセスしてみましょう. アドレスバーに「http://192.168.16.1XX/~hoge/sample.html (XX は情報実験機番号,hoge はアカウント名)」を入力します. ここでパスの指定の際に「public_html」は書かない(省略されている)ことに注意しましょう. 無事に「This is sample page!!」と表示されれば成功です.
[3.2] index.html
先ほどは公開用ディレクトリの作成とページの閲覧を行いました. 次は public_html ディレクトリ以下に「index.html」というファイルを作成します.
$ cd ~/public_html
$ vi index.html
以下のように入力します.
<!DOCTYPE html>

<html lang="ja">
 <head>
  <meta charset="UTF-8">
  <title> index </title>
 </head>

 <body>
  <h1>
    This is index page!!
  </h1>
 </body>
</html>
ここで,ブラウザのアドレスバーに「http://192.168.16.1XX/~hoge/ (XX は情報実験機番号,hoge はアカウント名)」を入力するとどうなるでしょうか? index.html の中身が表示されたはずです. このように,public_html 以下のファイルにアクセスする際に,ファイルの指定をしないと, 表示されるファイルは「index.html」となります. この設定は「dir.conf」に記述されています. このモジュールはデフォルトで有効になっています.
$ less /etc/apache2/mods-available/dir.conf

<IfModule mod_dir.c>

    DirectoryIndex index.html index.cgi index.pl index.php index.xhtml index.htm

</IfModule>
# vim: syntax=apache ts=4 sw=4 sts=4 sr noet
[3.3] ページへのアクセス制限をかける
これまでは誰にでも見られてよいページの公開方法の解説をしてきましたが, 特定の人にだけ公開したいページもあるはずです. ここではそんなときどうしたいかを解説します.
[3.3.1] .htaccess
アクセス制限をかけたいディレクトリにこのファイルを置きます. この名前は「apache2.conf」というファイルの中で設定されています.
$ less /etc/apache2/apache2.conf

# This is the main Apache server configuration file.  It contains the
# configuration directives that give the server its instructions.
# See http://httpd.apache.org/docs/2.4/ for detailed information about
# the directives and /usr/share/doc/apache2/README.Debian about Debian specific
# hints.
#
#
# Summary of how the Apache 2 configuration works in Debian:
# The Apache 2 web server configuration in Debian is quite different to
# upstream's suggested way to configure the web server. This is because Debian's
# default Apache2 installation attempts to make adding and removing modules,
# virtual hosts, and extra configuration directives as flexible as possible, in
# order to make automating the changes and administering the server as easy as
# possible.

# It is split into several files forming the configuration hierarchy outlined
# below, all located in the /etc/apache2/ directory:

…
(略)
…

#
# AccessFileName: The name of the file to look for in each directory
# for additional configuration directives.  See also the AllowOverride
# directive.
#

AccessFileName .htaccess

#
# The following lines prevent .htaccess and .htpasswd files from being
# viewed by Web clients.
#

<FilesMatch "^\.ht">
    Require all denied
</FilesMatch>
…
(略)
…
最後に, 設定を Apache2 に反映させるために Apache2 を再起動します.
# systemctl restart apache2.service
[3.3.2] アクセス制限のかけ方
アクセス制限をするディレクトリ「secret」を作成し,その中に閲覧されたくないファイル「secret.html」 を格納します.
$ mkdir ~/public_html/secret
$ vi ~/public_html/secret/secret.html

<!DOCTYPE html>

<html lang="ja">
 <head>
  <meta charset="UTF-8">
  <title> sercret </title>
 </head>

 <body>
  <h1>
    私の趣味は XX です.
  </h1>
 </body>
</html>
まずはアクセス可能とするユーザ名とパスワードを管理するファイル(passwdfile)を作成します. 以下は,登録ユーザ名が hero の場合です.hero は自分のアカウント名でなくてもかまいません.
$ htpasswd -c /home/hoge/passwdfile hero

Adding password for hero.

New password:[パスワードを入力]

Re-type new password:[もう一度パスワードを入力]
こうして passwdfile が作成されます. 次に,制限をかけたいディレクトリに,「.htaccess」というファイルを作成します.
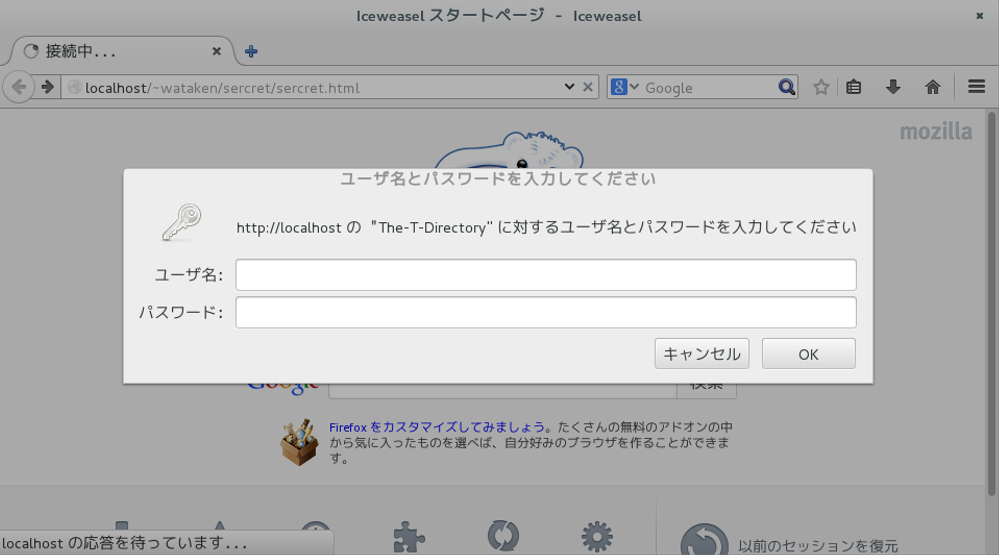
$ vi ~/public_html/secret/.htaccess


AuthType Basic
AuthName The-T-Directory
AuthUserFile /home/hoge/passwdfile
<Limit GET POST>
require user hero # ← アクセスを許可するユーザ名。
</Limit>
これで secret.html にアクセスすると,以下の図の例のようにユーザ名とパスワードが聞かれます. ここで,先ほど設定したユーザ名(hero)とパスワードを入力すると secret.html を閲覧することができます.
[3.4] ソフトウェアレベルでのアクセス制限
先ほどは,.htaccess というファイルを置くことで 特定のページへのアクセスを制限しましたが, 例えば, DoS 攻撃 (下記参照) を仕掛けてくる特定の計算機があった場合, その計算機だけをアクセス禁止にしたい!と, 思うことがあるかもしれません . そういう場合の対策として, 特定の IP アドレスに対してアクセス制限 を行うことができます.今回は隣の情報実験機からのアクセスを制限しましょう. 設定ファイルは /etc/apache2/conf-available/security.conf です.
#  vi /etc/apache2/conf-available/security.conf
<Directory />
   AllowOverride None
   Order Deny,Allow
   Deny from 192.168.16.1XX # "XX"は, 拒否したい情報実験機の番号
</Directory>
と追記します.
Apache2 を再起動します.
# systemctl restart apache2.service
隣の情報実験機を拒否した場合は, 隣の情報実験機からブラウザのURLに以下のように入力します.
http://192.168.16.1XX/
XX は拒否の設定を行った情報実験機の番号です.

アクセスが制限されたことを確認した後はアクセス制限を解除すること.
解説:DoS 攻撃
DoS (Denial of Services attack) 攻撃とは,ネットワークを通してサーバなどに攻撃する手段の一つで,
大量のデータや不正なデータを送り,受信先のサービスに高負荷をかけて正常に稼働できない状態にすること.
参考元:DDoS 攻撃とは, NTT コミュニケーションズ
訪問日:2024/06/28
>> 次ページへ